

Are you looking for something different and unique?
Why not try marble design nails? This may look hard to achieve but we have given a few simple steps for you to follow. If you are interested in other nails, then you must refer to 21 Worth Trying Long Stiletto Nails.
What You Will Need?
A cup of water, light color base nail polish, other colors that you choose to have, nail tape, a cocktail/nail stick, and nail polish remover.
Choosing Nail Polish Colors
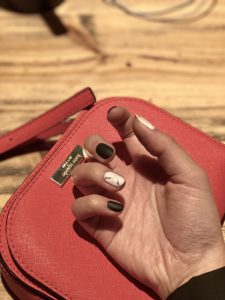
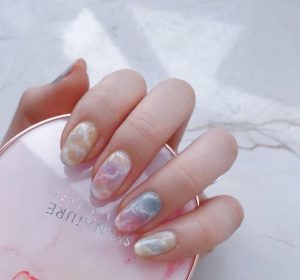
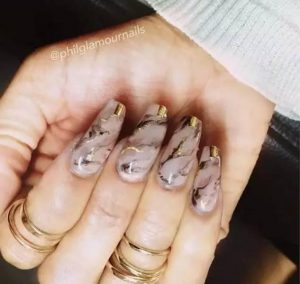
You can opt for the same colors as the photo above, or you can choose your own colors. We think these colors create the most spectacular marble effect.
Choose Your Base Color and Apply
When choosing your base color, bear in mind that it needs to be a lighter color than the other colors you have chosen, so that the marble look will take effect. Apply the base coat and wait for it to dry completely.
Use nail tape-This is for the skin around your nails so that you don’t need to get all the nail polish everywhere.
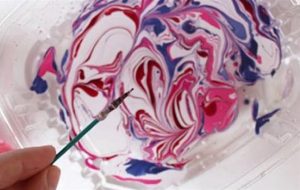
Use a cup of water and add drops of nail polish-Add a few drops of your chosen nail polishes, all colors you have chosen and keep adding a few drips.
Use your cocktail/nail stick to swirl-Use your stick to gently swirl the water around to create the design.
Dip your fingers into the water-Start with one finger and drip it in the cup of water so that your nail will hit the water surface only. You will then see the design forming on your nail. Continue with all the other fingernails.
Once you have done all fingernails and left them to dry-Your fingernails must be completely dry before you remove the nail taping off your skin.
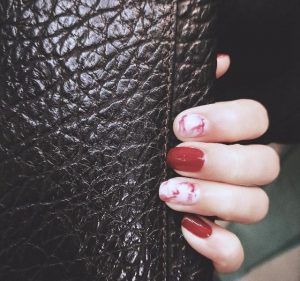
Apply a topcoat-Now you have your beautiful marble design, apply your topcoat. A matte or a shiny finish, as you like.
Now, let’s feel it first.


1 Comment